You’ve probably stared at a tiny red line on your cheek and thought, “Why does this even happen to me?” It’s one of those little annoyances that feel like a tiny scar on your confidence.
Those spider veins, medically called telangiectasias, show up when tiny blood vessels near the surface get stretched or weakened. Hormones, sun exposure, and even a family history can coax them into appearing, especially on the delicate skin of the face.
But here’s the good news: you don’t have to live with them forever. There are safe, proven ways—both at‑home and professional—to fade or remove those crimson threads.
In this guide we’ll walk through exactly how to get rid of spider veins on face, starting with the simplest lifestyle tweaks and moving toward the most effective clinic treatments you’ll find right here in Barrie. You’ll learn why sunscreen isn’t just for wrinkles, how gentle laser therapy works, and which over‑the‑counter creams actually have science behind them.
Imagine looking in the mirror and seeing smooth, even skin instead of a map of tiny veins. That feeling of relief is what most of our clients describe after a tailored plan that combines prevention and targeted removal.
So, what should you do first? We’ll start with the quick wins—adjusting your skincare routine, protecting yourself from UV, and staying hydrated—then dive into the options that a medspa like Simcoe Cosmetic Clinic can offer, such as IPL and sclerotherapy.
Ready to take the first step toward clearer, calmer skin? Let’s explore the why, the how, and the realistic expectations so you can decide what’s best for you.
Along the way we’ll bust a few myths—like the idea that you need surgery or that home remedies alone will erase the veins. By the end you’ll have a practical checklist you can follow today, whether you’re curious about a simple cream or ready to book a laser session.
TL;DR
If you’re tired of tiny red threads stealing confidence, this guide shows how to get rid of spider veins on face using tweaks, sunscreen habits, and clinic options like IPL and sclerotherapy. Follow the step‑by‑step checklist and you’ll see smoother, clearer skin without surgery, plus realistic expectations for lasting results.
Step 1: Identify Causes and Risk Factors
Ever stared at that tiny red line on your cheek and wondered why it showed up out of nowhere? You’re not alone – most of us have that “why me?” moment when a spider vein appears.
First thing we need to do is peel back the layers and spot the culprits. Knowing the why helps you target the how.
Genetics and Hormones
Family history is a big player. If Mom or Grandma had spider veins, chances are you’ll see them too. It’s not destiny, but it’s a signal to be extra vigilant. Hormonal shifts – think pregnancy, birth control, or menopause – can also dilate those tiny vessels, making them pop up on the face.
Research shows that women are four times more likely to develop facial telangiectasias, especially after multiple pregnancies according to a vein‑center overview. So if you’ve been through those life stages, it’s worth noting.
Sun, Heat & Lifestyle
Our faces get the most UV love (or damage). Sunlight breaks down collagen, thins the skin, and weakens capillary walls. Over time, even a casual “sun‑kissed” routine can coax those veins to the surface.
Don’t forget about wind, extreme heat, and even hot showers – they all cause vasodilation, a temporary widening of blood vessels that can become permanent with repeated exposure.
And here’s a tiny habit that sneaks in: excessive alcohol. It widens blood vessels, making them more visible. Moderation isn’t just good for your liver; it’s good for your skin too.
Medical Conditions & Meds
Certain skin conditions like rosacea or eczema can aggravate spider veins. Autoimmune diseases, chronic inflammation, and even a tendency toward easy bruising can set the stage.
The National Library of Medicine notes that underlying vascular or inflammatory disorders often coexist with facial telangiectasias in clinical observations. If you’re on blood thinners or steroids, your risk goes up a notch.
So, how do you turn this checklist into action? Grab a notebook, and run through these quick questions:
- Do you have close relatives with spider veins?
- Have you experienced major hormonal changes in the last few years?
- How often are you outdoors without sunscreen?
- Do you notice flare‑ups after alcohol or hot showers?
- Are you managing any chronic skin or vascular conditions?
Mark the ones that apply – that’s your personal risk map.
Now, let’s bring a visual break. Below is a short video that walks through the science of why those veins appear and what you can do today:
Notice how the presenter emphasizes daily sun protection and gentle skincare. Those are the low‑effort moves that actually shift the needle.
In a nutshell, identifying the cause is half the battle. When you know whether genetics, sun, hormones, or health issues are driving your spider veins, you can choose the right prevention or treatment path – whether that’s a sunscreen routine, a lifestyle tweak, or a professional consult at Simcoe Cosmetic Clinic.
Ready to move to step two? Grab that checklist, tick off what applies, and we’ll dive into the practical steps you can take right now to keep those veins from spreading.
Step 2: Home Remedies and Lifestyle Changes
Alright, you’ve pinpointed the why – now let’s talk about the what you can actually do at home to start fading those tiny red threads.
First off, think of your skin as a delicate garden. If you water it too harshly or let the sun bake it, the little veins pop up like weeds. A gentle routine can keep the soil calm and the capillaries tight.
Gentle skincare & topical allies
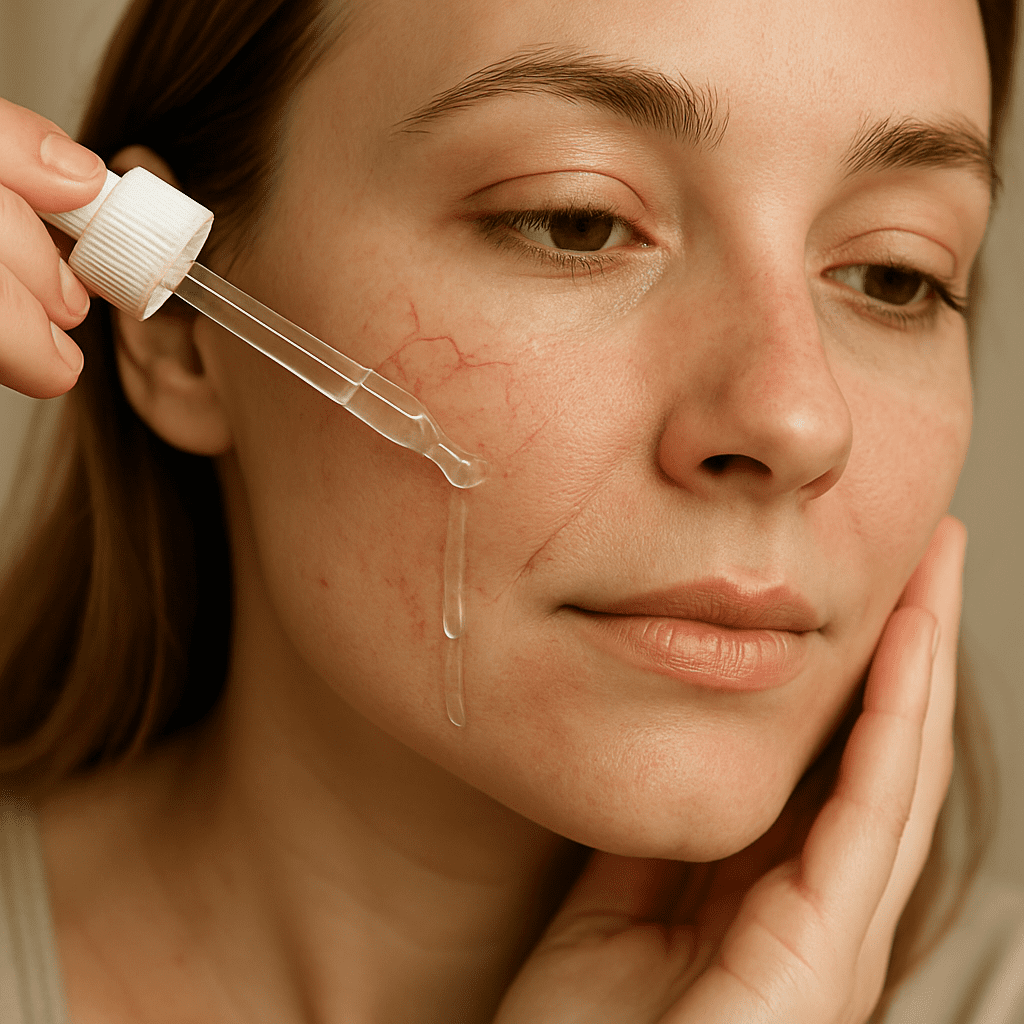
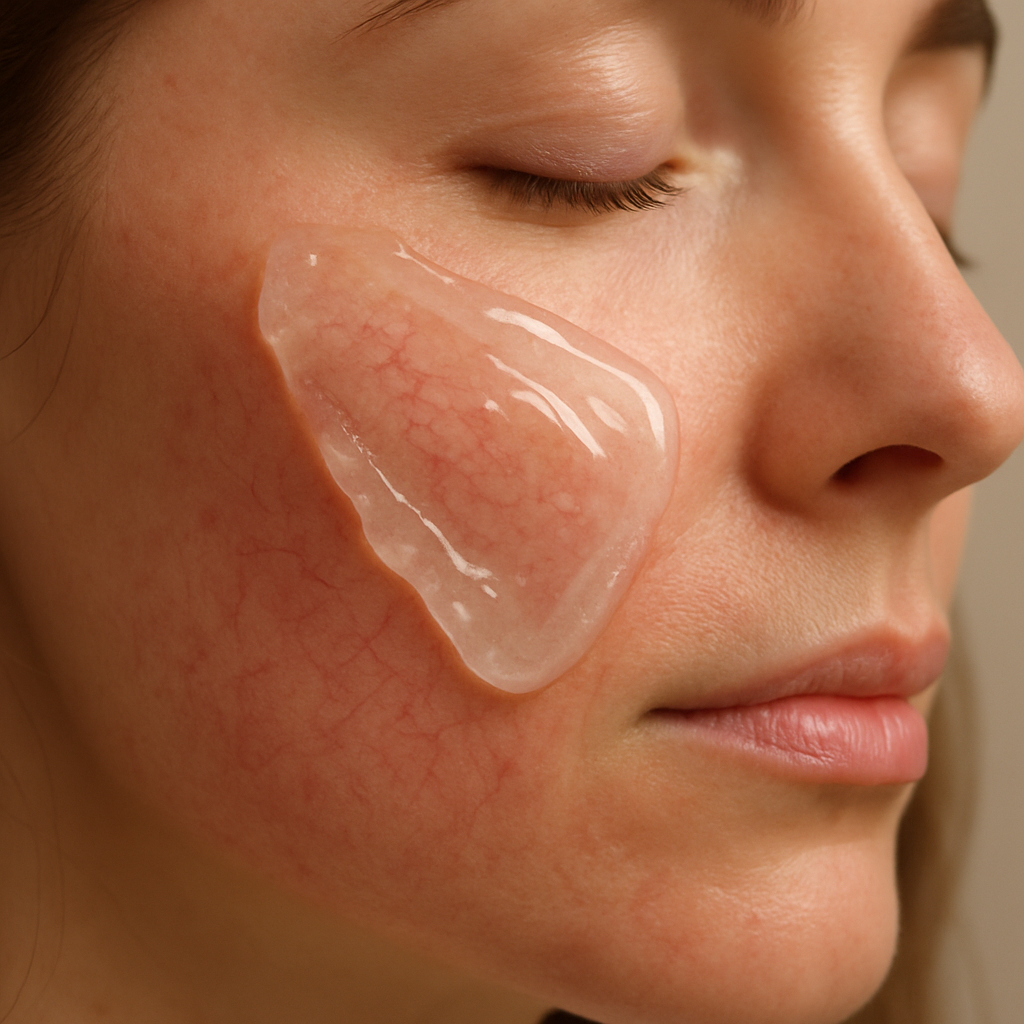
Skip abrasive scrubs. Instead, choose a mild, fragrance‑free cleanser that respects your skin’s barrier. Look for ingredients like niacinamide or vitamin C – they help strengthen vessel walls and even out pigment without irritating the area.
For a night‑time boost, try a thin layer of a silicone‑based gel or a product with “copper peptide” that supports collagen. A quick tip: apply with a fingertip pat‑down, not a rub, so you’re not pulling on those fragile capillaries.
And yes, there are over‑the‑counter creams that actually have research behind them. Delaware Advanced Vein Center notes that topical retinoids, when used sparingly, can improve skin thickness and make existing veins less visible over several weeks.
Diet, hydration & circulation boosters
What you eat shows up on your face faster than you think. Foods rich in flavonoids – think berries, citrus, dark leafy greens – act like a shield for your blood vessels.
According to the Center for Vein Restoration, regular aerobic activity further supports vein health by improving circulation and reducing pressure on capillaries.
Drink at least eight glasses of water a day. Hydration keeps the plasma volume stable, which reduces the pressure that forces capillaries to expand.
Here’s a simple habit: a 10‑minute walk after lunch. Light movement encourages venous return and can prevent new spider veins from forming. If you sit at a desk, stand up and stretch your calves every hour – those ankle pumps are tiny miracles.
Heat management & lifestyle tweaks
Hot showers feel amazing, but they also dilate blood vessels. Try turning the water to a comfortably warm temperature and keep the session under 10 minutes.
Alcohol widens veins, too. If you notice flare‑ups after a glass of wine, consider cutting back or alternating with water.
Sun protection is non‑negotiable. A broad‑spectrum SPF 30+ applied every morning, and re‑applied after two hours outdoors, creates a barrier that stops UV‑induced collagen breakdown – the very process that makes spider veins more visible.
And remember, consistency beats intensity. You don’t need a miracle cream; you need a routine you can stick with.

Quick checklist you can print
- Switch to a fragrance‑free, niacinamide cleanser.
- Add a silicone‑gel or copper‑peptide night treatment.
- Eat a berry‑rich snack daily.
- Drink 2 L of water.
- Walk 10 minutes after meals.
- Limit hot showers to <10 minutes.
- Apply SPF 30+ every morning.
- Moderate alcohol intake.
Does any of this feel overwhelming? Take one bullet, master it for a week, then add the next. Small, steady changes are what keep those veins from spreading.
When you’ve built this foundation, the next step is to explore professional options that can accelerate results. But for now, give your skin the gentle love it deserves and watch the tiny red lines start to fade.
Ready to put the checklist on your fridge? Grab a pen, mark off each day, and notice the difference after a couple of weeks.
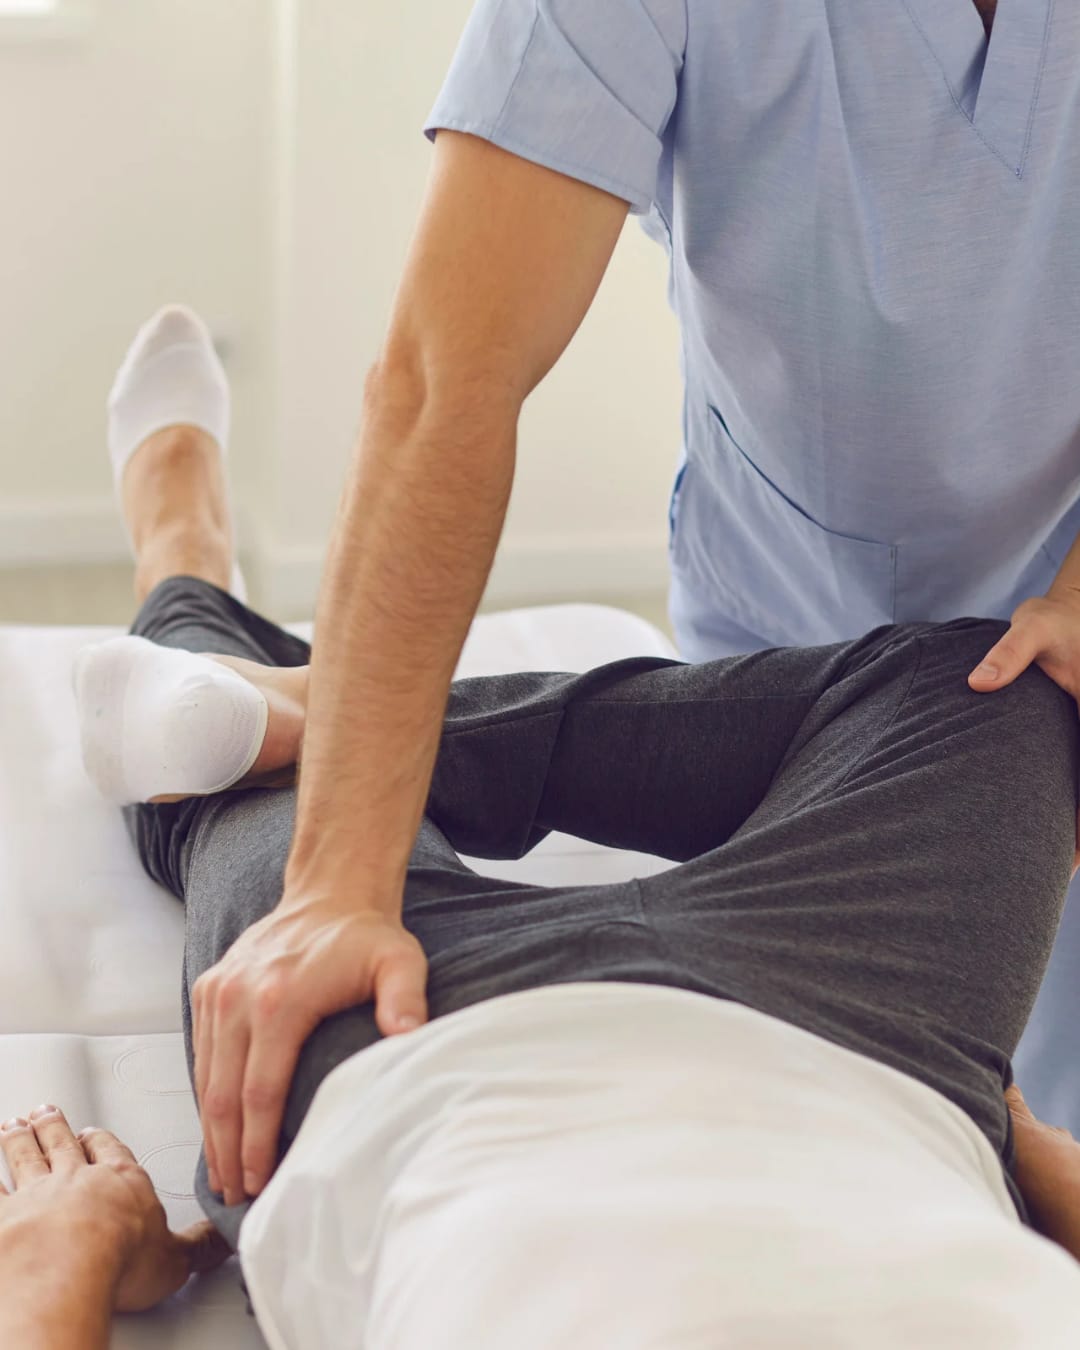
Step 3: Professional Treatment Options
So you’ve been consistent with sunscreen, a gentle routine, and a few lifestyle tweaks. The veins are still hanging around, right? That’s where a clinic can give you a real boost without surgery.
Why go professional?
At this point you’ve done the easy stuff – the low‑hanging fruit. Professional treatments target the blood vessels directly, collapsing them so your skin can heal over a smoother canvas. Most people notice a visible difference after just a handful of sessions, and the downtime is usually minimal.
Does it sound too good to be true? Not really. The Cleveland Clinic explains that spider veins are harmless but often treated for cosmetic reasons, and several laser‑based options have a strong safety record according to their overview.
Laser and Light Therapies
The most popular choice is pulsed‑dye laser (PDL) – brands like Vbeam Perfecta or Prima. These devices fire gentle bursts of light that heat the blood inside the tiny vessel, causing it to coagulate and eventually be reabsorbed. You’ll feel a quick snap, but most clients describe it as “just a pinch.” Recovery is usually just a few hours of mild redness.
If your veins are deeper or you have mixed pigment issues, an IPL (intense pulsed light) or broadband light (BBL) treatment can work well. They target both red vessels and any lingering discoloration, giving you a more even complexion. The Laser & Skin Surgery Center notes that their Excel V system can treat superficial and deep vascular conditions with precise control according to their clinic report.
Sclerotherapy – the “injection” option
For veins that are a bit larger or resistant to laser, a dermatologist may recommend micro‑sclerotherapy. A tiny amount of a harmless solution is injected into the vessel, irritating the lining so it collapses. The needle is so fine you barely feel it, and the treated vein fades over weeks.
It’s especially useful on the cheeks or chin where laser light can sometimes be tricky because of curvature. After a series of 3‑4 sessions most patients see a dramatic reduction.
Radiofrequency (RF) Microneedling
RF microneedling combines tiny needles with radio‑frequency energy. The heat stimulates collagen while also tightening the surrounding capillaries. This dual action can make existing veins less visible and prevent new ones from forming. If you’re already considering microneedling for texture, ask your provider if RF is available.
What to expect on the day
- Consultation: The clinician maps your veins, discusses goals, and selects the right device.
- Prep: Clean skin, sometimes a topical numbing cream.
- Treatment: Seconds per spot – you can read a magazine or scroll on your phone.
- Aftercare: Gentle cleanser, sunscreen, and maybe a cooling gel for 24‑48 hours.
Most clinics, including Simcoe Cosmetic Clinic, schedule follow‑up appointments to track progress and decide if another round is needed.
How to choose the right clinic
Look for board‑certified dermatologists or plastic surgeons with specific experience in facial vascular lesions. Ask about the laser models they use – newer systems like Vbeam Prima tend to have better depth control.
Don’t be shy about asking for before‑and‑after photos of patients with a similar skin tone and vein pattern. A reputable clinic will happily share them.
Budget and downtime
Laser sessions typically run $150‑$300 each, while sclerotherapy may be $100‑$200 per vein. RF microneedling sits in a similar range. Most people need 2‑4 sessions spaced a month apart, so budget accordingly.
Because the treatments are non‑ablative, you can usually return to work the same day. Just keep the skin protected and avoid hot tubs for 24 hours.
Ready to take the next step? Our comprehensive guide on spider vein treatments walks you through each option in more detail and helps you decide which one fits your lifestyle.
Remember, professional care isn’t a magic wand, but it does accelerate the results you’ve been working toward at home. Pair a chosen treatment with your daily sunscreen, and you’ll be well on your way to a smoother, veil‑free complexion.
Step 4: Post‑Treatment Skin Care
You just left the clinic feeling that satisfying pinch of the laser, and now the real work begins – caring for the skin so the veins truly fade away.
The first 24‑48 hours are all about calming the tiny inflammation and keeping the area clean, because even a small irritation can turn into a darker spot later.
Immediate soothing steps
1. Gentle cleanse – use a fragrance‑free, sulfate‑free cleanser and lukewarm water. Pat dry with a soft towel; don’t rub.
2. Cool compress – a clean, damp washcloth chilled in the fridge for 5‑10 minutes can reduce redness. Apply for three rounds, 10 minutes each.
3. Light barrier – a thin layer of silicone‑based gel or a mineral‑based moisturizer (think “ceramide‑rich”) locks in moisture without clogging pores.
Why does this matter? Studies show that maintaining a hydrated barrier speeds re‑epithelialisation and lessens post‑procedure hyperpigmentation (Cleveland Clinic explains the importance of post‑procedure care).
First week: protection & hydration
Sun is the biggest enemy right after laser or sclerotherapy. UV rays can trigger “post‑inflammatory hyperpigmentation,” which makes the treated spot look darker instead of lighter. Apply a broad‑spectrum SPF 30+ every morning, and reapply every two hours if you’re outdoors.
Pick a mineral sunscreen with zinc oxide or titanium dioxide – they sit on top of the skin rather than absorbing, so they’re less likely to sting sensitive areas.
Keep sipping water. Hydration supports the dermal matrix and helps the micro‑circulation clear out the broken‑down blood cells that the treatment has collapsed.
Optional: a once‑daily supplement of vitamin C (500 mg) or a topical antioxidant serum can accelerate the clearance of hemosiderin, the pigment that sometimes lingers after a vein is gone.
Beyond two weeks: optimizing results
At this point the initial redness should have faded, but you might still see a faint pink outline. Gentle exfoliation two times a week with a low‑pH enzyme mask (not a gritty scrub) encourages cell turnover.
Consider adding a niacinamide serum – it tightens capillary walls and evens out tone, which many patients notice makes the “vein‑free” skin look even smoother.
If you chose sclerotherapy, remember the vein disappears gradually over 4‑6 weeks. A light massage with your fingertips, moving outward from the treated spot, can help the solution distribute evenly (Healthline’s guide to post‑laser care).
What to watch for
- Prolonged swelling or throbbing after 48 hours – call your provider.
- Unexpected bruising that spreads beyond the treated area.
- Any signs of infection: warmth, pus, or fever.
- Persistent dark spots – they may need a touch‑up session.
Bottom line: the best results come from a routine that feels almost like a mini‑spa each day. Clean, cool, protected, and nourished skin will let the laser or sclerotherapy do its job without a hitch.
So, what’s the next move? Grab your favorite gentle cleanser, slather on that mineral SPF, and set a reminder to apply a cooling gel every evening for the next three nights. Stick to it, and you’ll watch those spider veins fade faster than you thought possible.
Finally, book a brief check‑in with your Simcoe Cosmetic Clinic practitioner after the third week – they’ll assess any lingering pigment and, if needed, suggest a gentle touch‑up laser pass. Consistency plus professional guidance = lasting clarity.
Step 5: Compare Treatment Methods
Now that you’ve seen what post‑treatment care looks like, it’s time to weigh the actual ways you can make those spider veins disappear. Which method feels right for you? Let’s break it down so you can pick a path that matches your schedule, budget, and comfort level.
Laser‑based options
Laser therapy—think pulsed‑dye laser (PDL) or intense pulsed light (IPL)—delivers focused bursts of energy that heat the blood inside the tiny vessel. The heat causes the vein to coagulate and eventually be reabsorbed by your body. Most patients describe the sensation as a quick pinch, followed by a mild redness that fades in a few hours.
According to the Cleveland Clinic, laser treatments have a safety record built on decades of use, and they work best for superficial veins that sit close to the skin’s surface. A typical course is 2‑4 sessions spaced a month apart.
Pros: minimal downtime, precise targeting, works well on red‑pigmented veins.
Cons: may require multiple visits, can be pricier per session, deeper veins sometimes need a different wavelength.
Sclerotherapy
Sclerotherapy uses a tiny injection of a harmless chemical that irritates the vein lining, causing it to collapse and scar. The vein then fades over 4‑6 weeks as your body clears the blood cells. It’s the go‑to for veins that are a bit larger or located on curved areas like the cheeks.
Dr. Mackay explains that sclerotherapy often yields faster visible results for many patients, especially when the veins are a shade darker than the surrounding skin. You’ll usually need 3‑5 micro‑injections, each lasting just seconds.
Pros: effective on a wide range of vein sizes, often fewer sessions, lower overall cost.
Cons: small needle sticks (some people feel a pinch), potential bruising, requires gentle massage after each session to help the solution spread.
Radiofrequency (RF) microneedling
If you’re already considering microneedling for texture, ask about the RF version. Tiny needles deliver radio‑frequency energy that heats the tissue while stimulating collagen. The heat also tightens nearby capillaries, making existing veins less visible and deterring new ones.
It’s a hybrid approach—great if you want smoother skin plus vein reduction in one go. The downside? Not every clinic offers RF microneedling, and the price can sit between laser and sclerotherapy.
How to decide
Step 1: Write down your main concerns. Is it the number of veins, their depth, or the amount of downtime you can afford?
Step 2: Book a brief 15‑minute consultation with a board‑certified dermatologist at Simcoe Cosmetic Clinic. Bring photos of the area you want treated and ask to see before‑and‑after images of each method.
Step 3: Compare cost per session and total estimated sessions. For example, a laser session might be $200, while sclerotherapy could be $120 per vein. Multiply by the expected number of visits to see the true investment.
Step 4: Test your pain tolerance. If you’re nervous about needles, laser’s quick pinch may feel easier. If you’re okay with a tiny prick but want fewer appointments, sclerotherapy could be the winner.
Step 5: Consider your skin tone. Darker skin types sometimes respond better to laser wavelengths that target deeper vessels, while sclerotherapy works consistently across tones.
Here’s a quick checklist you can print out:
- Vein depth: superficial vs. deeper
- Number of veins: few vs. many
- Budget: per‑session cost vs. total cost
- Downtime: same‑day return vs. a few days of redness
- Pain preference: pinch vs. micro‑injection
Use that list during your consultation, and you’ll walk away with a clear plan.
| Method | How it works | Pros | Cons |
|---|---|---|---|
| Laser (PDL/IPL) | Heat‑based light bursts coagulate the vein | Precise, minimal downtime, great for red veins | Multiple sessions, higher per‑visit cost |
| Sclerotherapy | Chemical injection scars the vein | Effective on larger/deeper veins, fewer visits | Needle sticks, possible bruising |
| RF Microneedling | Radio‑frequency energy via tiny needles stimulates collagen and tightens capillaries | Combines texture improvement with vein reduction | Not widely available, mid‑range price |
Bottom line: there’s no one‑size‑fits‑all answer. By matching your priorities to the strengths of each method, you’ll know exactly how to get rid of spider veins on face without guessing.
Conclusion
If you’ve made it this far, you probably feel a mix of relief and curiosity—relief that the maze of options finally makes sense, and curiosity about which path feels right for you.
Remember, the best way to figure out how to get rid of spider veins on face is to match your personal priorities—budget, downtime, comfort—with the strengths of each treatment. Laser gives pinpoint precision and quick recovery, sclerotherapy cuts down on visits, and RF microneedling adds texture benefits.
So, what’s the next step? Grab that checklist you printed earlier, schedule a short 15‑minute consultation at Simcoe Cosmetic Clinic, and bring photos of the area you want to treat. Ask the clinician to walk you through a realistic timeline and cost estimate.
And don’t forget post‑care: sunscreen every day, gentle cleansing, and a little patience while your skin heals. Those tiny habits are what turn a good treatment into great, lasting results.
Does this feel doable? Good. Because you’ve already done the research, you’re equipped to make an informed choice and move forward with confidence. Let’s get those veins fading and your confidence soaring.
Keep a simple journal of your progress—note any changes in color or texture each week. Seeing the improvement, however small, keeps motivation high.
FAQ
What are the most effective ways to get rid of spider veins on face?
When it comes to clearing those tiny red lines, laser therapy, sclerotherapy, and RF microneedling are the three front‑runners. Laser uses focused light to coagulate the vessel, giving you quick fade‑outs with minimal downtime. Sclerotherapy injects a tiny amount of a safe chemical that collapses the vein, which the body then reabsorbs over a few weeks. RF microneedling adds a collagen boost while tightening nearby capillaries, so you get smoother skin plus vein reduction.
Is laser treatment safe for all skin tones?
Laser works best on lighter to medium skin because the light can target the red pigment without heating surrounding melanin. If you have a deeper complexion, newer wavelengths—like Nd:YAG—can reach deeper vessels while sparing the surrounding tissue, but you’ll want a practitioner who tailors the settings to your skin type. Always ask for before‑and‑after photos of patients with a similar tone to feel confident.
How long does it take to see results after sclerotherapy?
Most people notice the vein lightening within a week, but the full fade usually happens over 4‑6 weeks as your body clears the collapsed vessel. You might see a faint pink outline at first; gentle massage can help the solution spread evenly. If the vein is larger, you may need a second session, but the overall downtime is just a few days of mild bruising.
Can I combine home care with professional treatments?
Absolutely. Daily sunscreen (broad‑spectrum SPF 30 or higher) protects new skin and prevents pigment rebound. A gentle cleanser and a niacinamide serum can tighten capillary walls, making the treated area look clearer faster. Some folks add a vitamin C supplement or antioxidant serum to speed up the breakdown of hemosiderin, the lingering pigment that sometimes sticks around after a vein disappears.
What are the common side effects and how can I manage them?
Redness, mild swelling, and tiny bruises are the usual suspects and typically resolve within a few days. If you get a larger bruise, apply a cool compress for 10‑15 minutes a few times a day and keep the area elevated when possible. Should you notice prolonged throbbing, spreading bruising, or any signs of infection (warmth, pus, or fever), give your clinic a call right away.
How many sessions will I need and what’s the typical cost?
Laser often requires 2‑4 sessions spaced a month apart; sclerotherapy may need 3‑5 micro‑injections in one visit, sometimes followed by a touch‑up. RF microneedling is usually a series of 3‑5 treatments. Pricing varies—laser can run $200‑$300 per session, sclerotherapy around $120 per vein, and RF microneedling sits between the two. Ask the Simcoe Cosmetic Clinic for a detailed quote based on your specific plan.
Do spider veins ever come back after treatment?
There’s always a chance of new veins forming because the underlying cause—like genetics, sun exposure, or hormonal changes—remains. Maintaining a good skincare routine, staying hydrated, and protecting your skin from UV rays dramatically lowers the odds of recurrence. Regular follow‑up appointments let your clinician spot early signs and recommend a quick touch‑up before the veins become noticeable again.