Did you know that over 3 million dermal filler procedures are performed each year in North America alone? These treatments are gaining popularity for people who want a youthful, refreshed look without surgery. With so many options and important steps along the way, knowing how to prepare and what to expect helps you achieve the most natural, confident results from your dermal filler journey.
Quick Summary
| Key Point | Explanation |
|---|---|
| 1. Self-Assess Your Skin Needs | Understand your aesthetic goals and skin concerns before seeking dermal fillers for better alignment with your expectations. |
| 2. Consult a Qualified Professional | Always choose a licensed and experienced aesthetic practitioner to ensure safe and effective treatment outcomes. |
| 3. Prepare for Your Appointment | Adjust medications and follow a proper skincare routine a week before your treatment for optimal results. |
| 4. Follow Aftercare Instructions | Monitor results and adhere to aftercare guidelines to support healing and maintain your enhancements. |
| 5. Be Patient with Healing | Understand that final results can take 2 to 4 weeks to fully develop, and minor asymmetry is normal during healing. |
Table of Contents
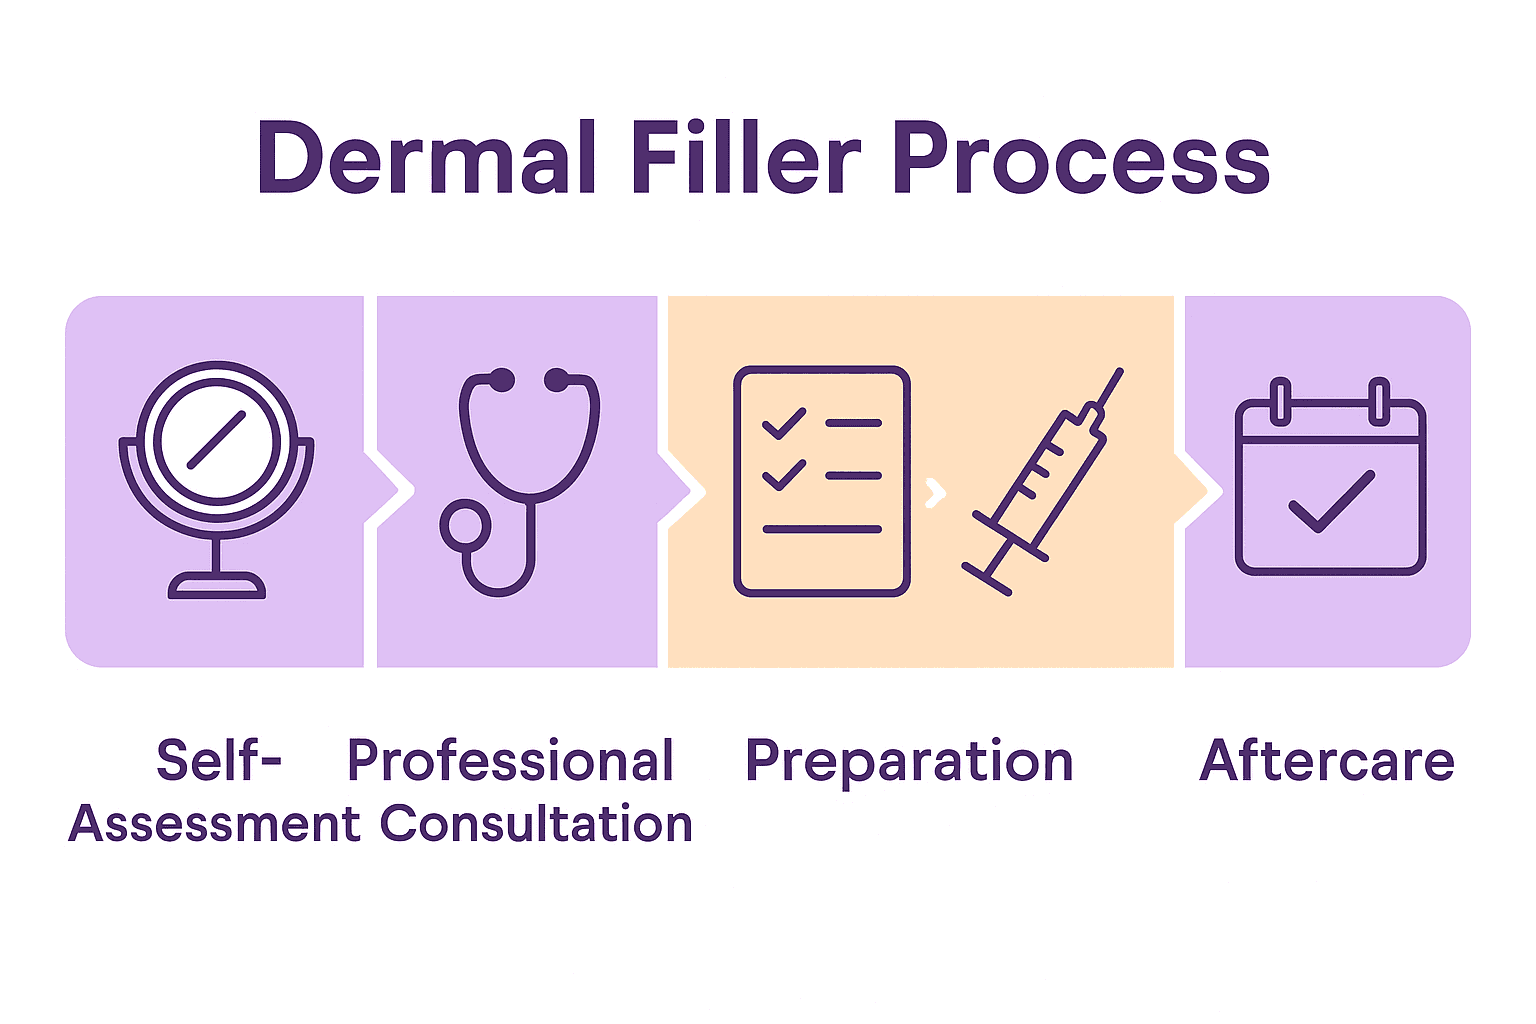
- Step 1: Assess Personal Goals and Skin Needs
- Step 2: Consult With A Qualified Aesthetic Specialist
- Step 3: Prepare For Your Dermal Filler Appointment
- Step 4: Experience The Dermal Filler Procedure
- Step 5: Monitor Results And Follow Aftercare Guidelines
Step 1: Assess Personal Goals and Skin Needs
Before diving into dermal fillers, understanding your unique aesthetic goals and skin condition is crucial. This step helps you determine whether dermal fillers align with your expectations and will deliver the results you desire.
Start by conducting an honest self assessment of your skin concerns. Are you looking to restore volume in specific areas? Soften fine lines? Address asymmetry? Your specific goals will guide the entire treatment strategy. According to research from Canadian cosmetic clinics, ideal candidates are individuals in good health seeking subtle enhancements to volume, wrinkles, or facial contours.
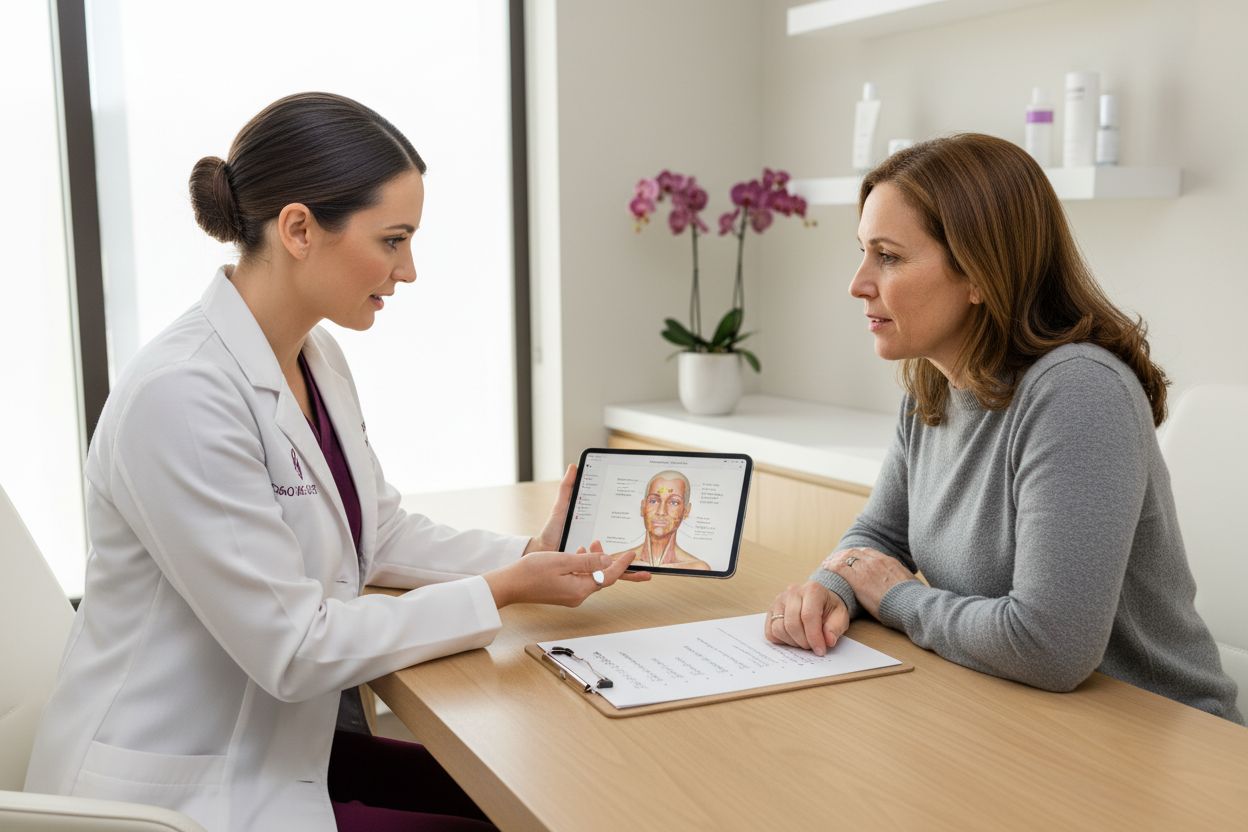
Scheduling a free consultation with a professional becomes your first practical step. During this assessment, an experienced aesthetic professional will examine your skin type, facial structure, and discuss your aesthetic objectives. They will evaluate factors like skin elasticity, existing volume, potential treatment areas, and help set realistic expectations.
Pro Tip: Bring photos of yourself from different ages or angles to help your practitioner understand your aesthetic vision more comprehensively.
During the consultation, expect transparent discussions about potential outcomes. A skilled professional will help you understand not just what can be achieved, but also what results might look unnatural or disproportionate for your unique facial features.
Key factors they will consider include your age, overall health, skin condition, and specific aesthetic desires. The goal is creating natural looking enhancements that complement your existing features rather than dramatically altering them.
Remember that dermal fillers are a personalized treatment. What works beautifully for one person might not be ideal for another. Your consultation is about discovering a tailored approach that makes you feel confident and refreshed.
Step 2: Consult with a Qualified Aesthetic Specialist
After assessing your personal goals, the next critical step is finding a skilled aesthetic professional who can transform your vision into safe and stunning results. This consultation will determine the trajectory of your dermal filler journey.
According to Health Canada, injectable dermal fillers must be administered only by medical professionals with specialized training. This means seeking out a licensed practitioner with extensive experience in aesthetic procedures who understands facial anatomy and injection techniques.
Start by researching board certified professionals who specialize in cosmetic treatments. Look for credentials from recognized medical aesthetic associations. During your initial consultation, expect a comprehensive evaluation that goes beyond just discussing your aesthetic goals. A qualified specialist will conduct a thorough health assessment to ensure you are a suitable candidate for dermal fillers.
Warning: Avoid unlicensed practitioners or non professional treatments. Health Canada explicitly warns against needle free dermal filler devices which are not authorized and can pose serious health risks.
Prepare for your consultation by gathering important information about your medical history. Be prepared to discuss any allergies, previous cosmetic procedures, current medications, and underlying health conditions. Transparency helps your specialist determine the most appropriate treatment plan.
A reputable aesthetic professional will provide detailed explanations about different filler types, potential outcomes, risks, and realistic expectations. They should make you feel comfortable asking questions and should never pressure you into immediate treatment.
Remember that this consultation is your opportunity to build trust with a medical expert who will guide you through your aesthetic enhancement journey. Ask to see before and after photos, understand their approach, and ensure you feel completely confident in their expertise.
Step 3: Prepare for Your Dermal Filler Appointment
With your consultation complete, preparing properly for your dermal filler appointment can significantly impact your treatment outcome and recovery. This preparation phase ensures you maximize results and minimize potential complications.
According to medical recommendations from cosmetic treatment experts, your preparation should begin about one week before your scheduled dermal filler procedure. You will need to make several strategic adjustments to your routine to create the optimal environment for your treatment.
Start by reviewing your current medications and supplements. Research indicates you should pause blood thinning medications and supplements like NSAIDs, aspirin, vitamin E, fish oil, ginkgo, and St. Johns Wort for 7 to 10 days before your appointment. These substances can increase bruising and bleeding risks during the procedure.
Pro Tip: Always consult your healthcare provider before stopping any prescribed medications.
In the days leading up to your appointment, focus on supporting your body. Stay well hydrated, eat nutritious meals rich in vitamin K, and avoid alcohol and excessive caffeine. These steps help prepare your skin and body for the treatment.
The day before your appointment, implement a gentle skincare routine. Avoid harsh exfoliants, retinoids, and intense skin treatments. If you are feeling unwell or have any active skin infections, contact your clinic to potentially reschedule your treatment.
On the morning of your appointment, eat a light snack to prevent lightheadedness. Wear comfortable clothing that allows easy access to the treatment areas. Arrive with clean, makeup free skin to ensure the best possible treatment environment.
Remember that proper preparation is your first step toward achieving the natural refreshed look you desire. By following these guidelines, you set the stage for a successful dermal filler experience.
Here’s a summary of the key consultation and preparation steps:
| Step | Main Actions | Key Considerations |
|---|---|---|
| Goal Assessment | Self-assess skin needs Set realistic goals |
Health status Desired enhancement |
| Specialist Consultation | Select qualified provider Discuss treatment |
Credentials Medical history |
| Appointment Preparation | Adjust meds Hydrate Follow skincare |
Avoid blood thinners No makeup |
Step 4: Experience the Dermal Filler Procedure
You have prepared carefully and now it is time for your actual dermal filler treatment. Understanding what happens during the procedure will help you feel more comfortable and confident about your aesthetic enhancement journey.
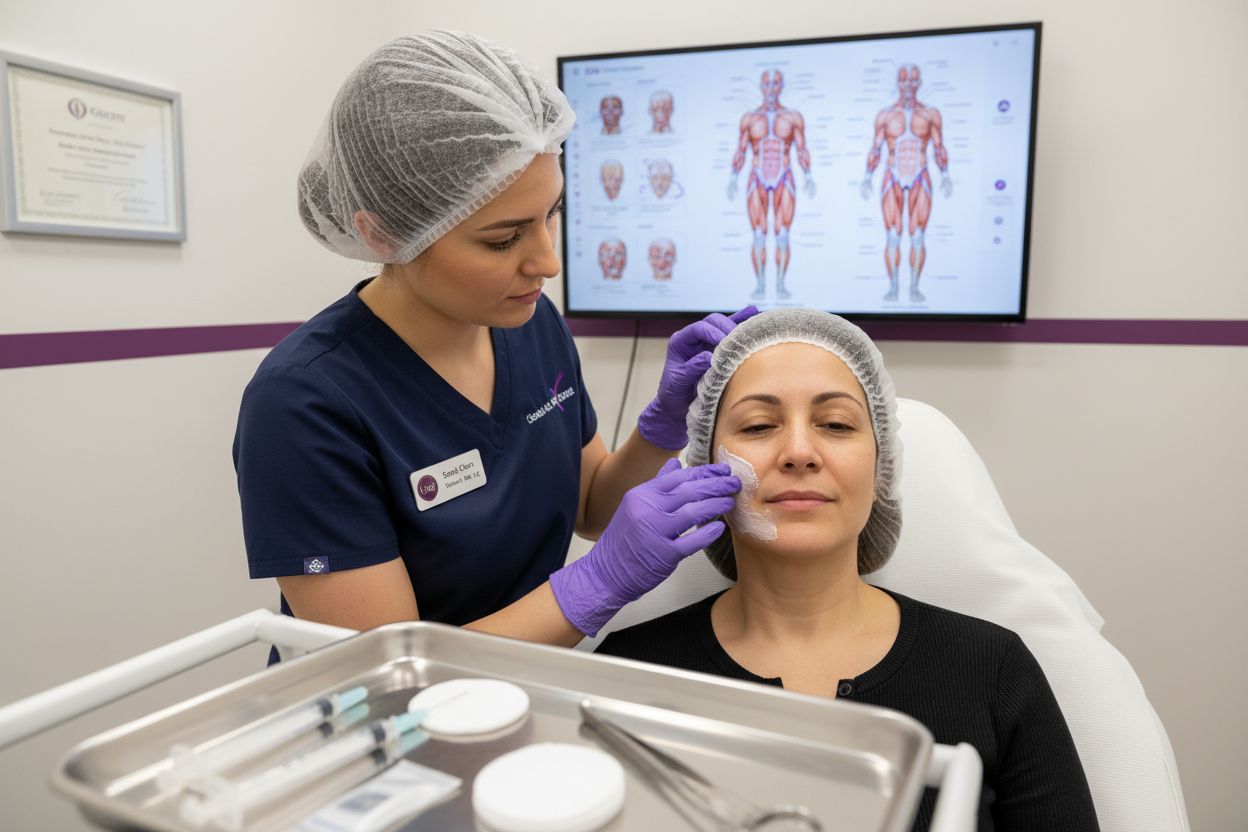
According to professional cosmetic treatment research, the dermal filler process typically takes between 30 and 60 minutes. When you arrive, your aesthetic professional will review your treatment plan and address any final questions or concerns you might have.
Most practitioners will offer a topical numbing cream to minimize discomfort. The actual injection process involves using fine needles or cannulas to strategically place filler in targeted areas. Your specialist will carefully map out injection points to ensure natural looking results that complement your facial structure.
Pro Tip: Stay relaxed during the procedure. Deep breathing can help manage any momentary discomfort.
Research indicates different filler types have varying longevity. Hyaluronic acid fillers generally last 9 to 12 months, while other specialized products can maintain results for up to two years. Your practitioner will explain which type of filler best suits your specific aesthetic goals.
During the procedure, you might feel slight pinching or pressure but the process is typically quick and manageable. Your specialist will periodically check in with you to ensure your comfort and make any necessary adjustments.
Immediate results are often visible, though optimal appearance develops over 1 to 2 weeks as the filler settles.
Some minor swelling or bruising is normal and should subside quickly. Your practitioner will provide specific aftercare instructions to support optimal healing and results.
Remember that everyone’s experience is unique. Trust your professional and communicate openly throughout the treatment to achieve your desired aesthetic outcome.
Step 5: Monitor Results and Follow Aftercare Guidelines
Congratulations on completing your dermal filler treatment. The next crucial phase involves carefully monitoring your results and following precise aftercare guidelines to ensure optimal healing and long lasting aesthetic enhancement.
According to medical aesthetics research, the immediate aftermath of your dermal filler procedure requires specific attention. Your first 24 hours are critical for minimizing potential complications and supporting proper filler settlement.
Stay upright for the first 4 hours after treatment to prevent uneven filler distribution. Avoid touching or massaging the treated areas, as this can disrupt the carefully placed product. Use cold compresses intermittently to reduce potential swelling and manage any minor discomfort.
Pro Tip: Sleep with your head slightly elevated during the first night to minimize swelling and promote even filler integration.
Research indicates you should pause several routine activities. Avoid vigorous exercise for 24 hours, skip makeup application for at least 12 hours, and steer clear of intense heat exposure or direct sunlight. These precautions help prevent inflammation and support optimal healing.
Your full results will gradually develop over 2 to 4 weeks. During this time, avoid active skincare ingredients like retinol for 5 days and postpone any additional skin treatments such as microneedling for at least two weeks. If you are planning air travel, wait two weeks to minimize potential swelling and bruising.
Remember that everyone’s body responds differently to dermal fillers. Some minor asymmetry or subtle changes are normal during the initial healing phase. Stay in communication with your aesthetic professional and attend any recommended follow up appointments to ensure your results meet your expectations.
Trust the process and be patient with your body as it adjusts to the beautiful enhancements you have chosen.
Discover Your Best Self with Trusted Dermal Filler Solutions
If you are striving for youthful radiance but find it hard to navigate the world of dermal fillers alone, you are not alone. Many people worry about achieving natural-looking results or choosing the safest treatment path. Our Get The Latest Medical Articles – Scclinic.ca resource connects you with expert knowledge so you can feel confident every step of the way.
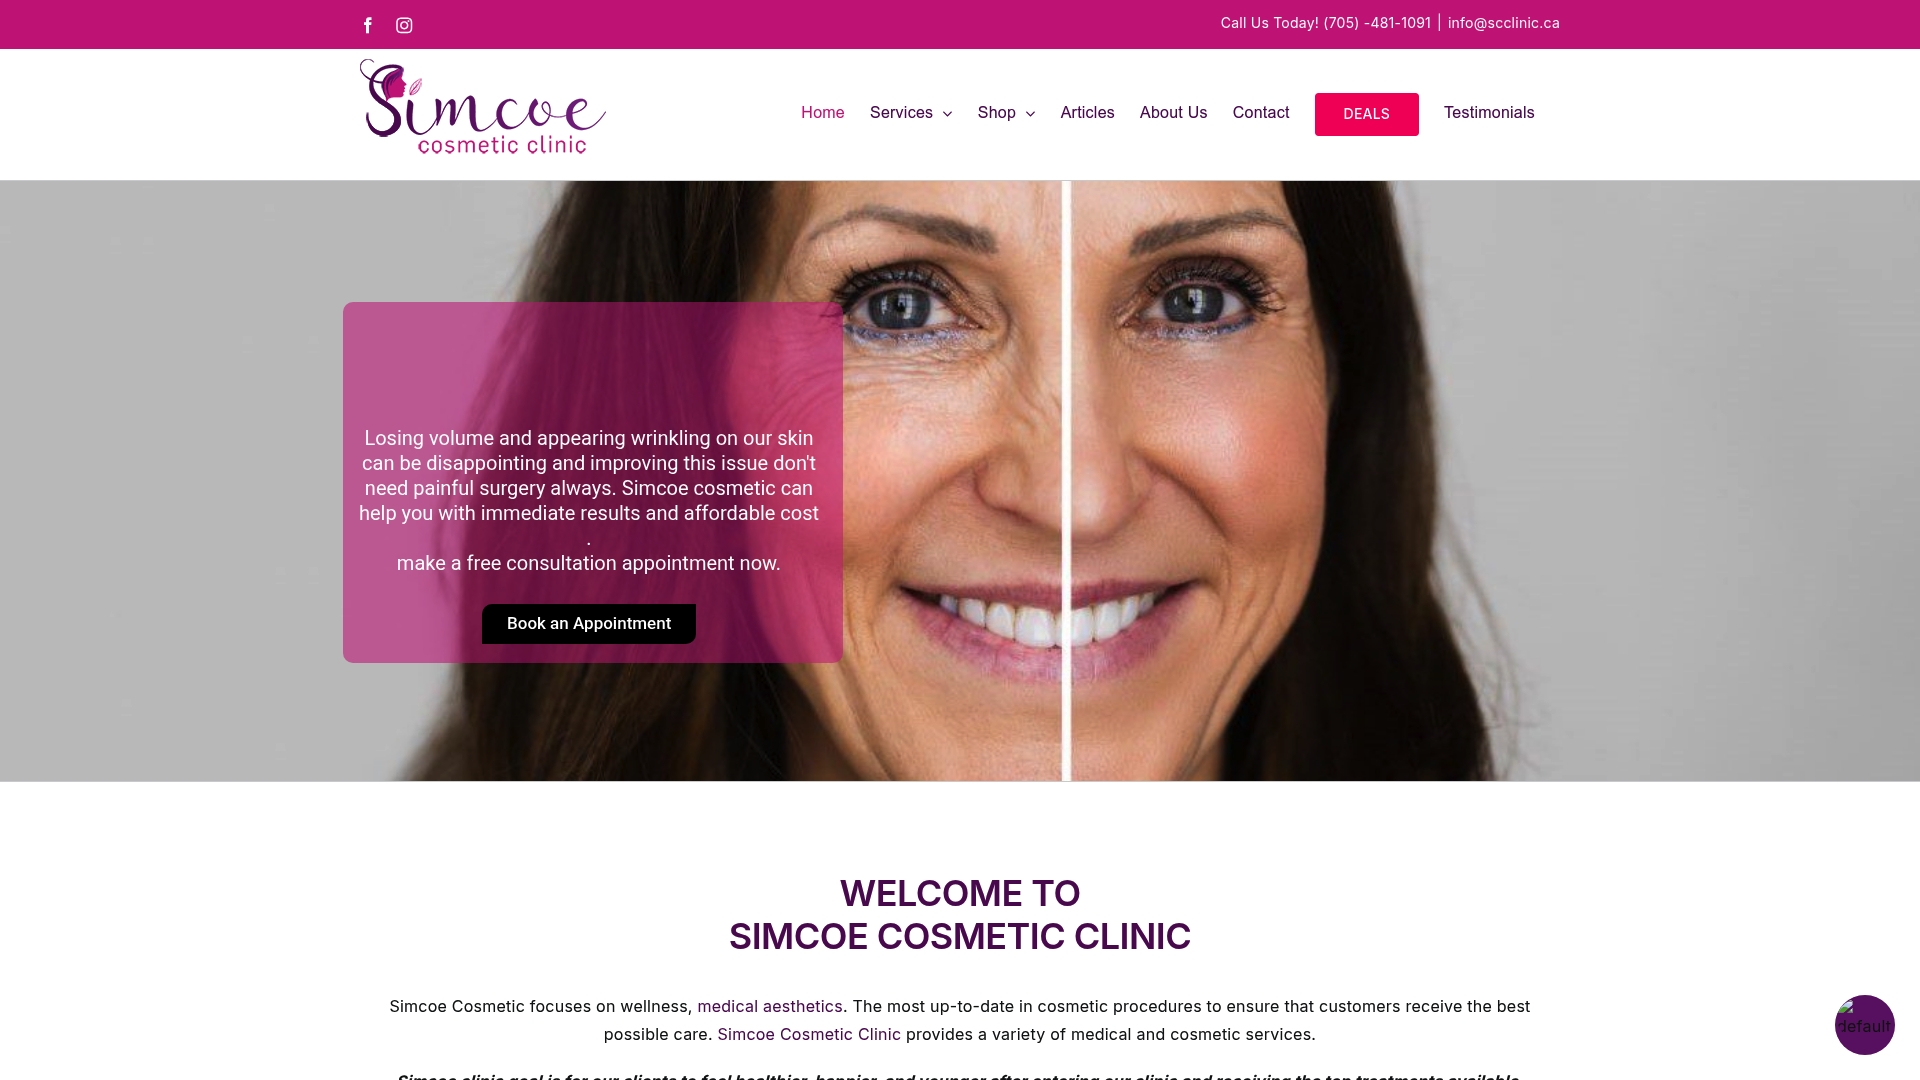
You deserve professional guidance that cares about your individual needs and goals. Book a free consultation with our specialists and experience the difference that expert care can make. Take the first step towards beautiful, refreshed skin with Simcoe Cosmetic Clinic by visiting our site today. Availability is limited, so secure your spot now for a personalized plan built just for you.
Frequently Asked Questions
What are dermal fillers and how do they help achieve youthful skin?
Dermal fillers are injectable substances that add volume and smooth out wrinkles, enhancing facial features for a more youthful appearance. To achieve youthful skin, consult with a qualified professional to discuss your specific needs and desired results.
How do I assess my goals before getting dermal fillers?
Start by conducting a self-assessment of your skin concerns, such as wanting to restore volume or soften fine lines. Write down your specific goals before scheduling a consultation with an aesthetic professional who can guide you on the best treatment options.
What should I expect during a dermal filler consultation?
During your consultation, expect a thorough evaluation of your skin type and facial structure, along with a discussion of your aesthetic goals. Prepare to share your medical history to help the aesthetic professional understand your needs and craft a tailored treatment plan.
How can I prepare for my dermal filler appointment?
Begin preparing about one week prior by adjusting your medications and focusing on hydration and nutrition. Avoid blood thinners and harsh skincare products leading up to your appointment to minimize bruising and ensure the best treatment environment.
What can I do immediately after my dermal filler treatment?
Stay upright for at least four hours and avoid touching the treated areas to help the filler settle properly. Use cold compresses as needed to reduce swelling and follow any specific aftercare guidelines provided by your aesthetic professional.
How long do the results of dermal fillers last?
The longevity of results varies by filler type, with many hyaluronic acid fillers lasting between 9 to 12 months. Schedule follow-up sessions based on the specific filler used and your desired aesthetic maintenance plan.
Recommended
- Dermal Fillers in Barrie – Instantly Lift & Define | SC Clinic
- Finding the Best Lip Filler Near Me: Your Comprehensive Guide to Safer, Natural, and Youthful Results – SIMCOE COSMETIC CLINIC
- Expert Insights on Lip Filler Treatments in Barrie: What You Need to Know – SIMCOE COSMETIC CLINIC
- How to Reduce Forehead Wrinkles Without Botox: Effective At-Home and Professional Strategies – SIMCOE COSMETIC CLINIC
